Beginners Guide
How to remove the timestamp on the GumPack, MD80 and 808 #3 cameras using Software Only
The New Project
October 28 2010
Great News! As of today it is no longer necessary to make any hardware modifications in order to remove that awful timestamp!
|
Newsflash
January 2012
|


From reading users comments, this guide appears to be bulletproof, BUT, if anything is not 100% clear, please do send any amendments, comments, etc. to my address which is shown at the end of the page. My aim is that anyone who can read English should be able to get rid of that nasty timestamp by following the instructions in this guide.
Roger M from the UK has found the missing link. It's a program called ISP_1528.exe which can currently be downloaded from
http://www.ziddu.com/download/11914470/Driver.rar.html
Unfortunately, the program *DOES NOT WORK for the 64bit version of Windows 7. If you want to use this tutorial you will have to use Windows XP (32bit), Vista (32bit) or Windows 7 (32bit).
*One user has reported he had success with Windows 7 64bit. I can't confirm this because I don't have the 64-bit version yet, but maybe the latest Windows 7 updates are necessary. [Update Nov. 2011 - In the meantime quite a few users have reported success on Windows 7, 64bit, so you may be lucky!]
The program ISP_1528.exe (ISP = In System Programming) can read and write the firmware from cameras with the SunPlus processor (GumPack, MD80, 808). These cameras have been named #3 cameras. See Chuck's site for a detailed description of the different models. In read mode, the program creates a 1528.bin.raw file which it then decompiles into a 1528.bin.brn file and a whole bunch of resource files. We use the 1528.bin.brn (burn) file to create a modified 1528.bin file. 1528.bin is an exact copy of 1528.bin.brn except that we replace the font data by using the program NoTimeStamp.exe. We then use ISP_1528.exe to write this new file back to the camera.
Note: If you have used my GumPack external power «Cut Track» modification you will have to temporarily bridge the cut or, if you have already done the complete modification, put the GumPack in USB mode (switch set to photo mode).
I assume that the user has basic computer knowledge and knows how to unzip and unrar files. 7Zip is an excellent program for this. I also assume that the user knows how to copy files from one folder to another and how to create folders. This tutorial is written for inexperienced users but may also be useful to others. There are a few differences between the GumPack, MD80 and 808, especially with the buttons. I have tried to include these differences based on information received from owners of these devices.
I can confirm that NoTimeStamp V.1.2 works on the following #3 models:
GumPack with a file size of 2'097'152 bytes (dump of the SPI contents)
GumPack with a file size of 1'735'852 bytes
GumPack with a file size of 920'376 bytes
808 with a file size of 969'538 bytes
808 with a file size of 1'735'852 bytes
MD80 with a file size of 920'376 bytes
EBuyer F&H Tiny DV Camcorder (file size unknown)
Please inform me if other file sizes / models work for you. I am more than willing to pre-check your original file for you if you are uncertain. All original files are always welcome!
In order to remove the timestamp, you will need 3 programs: The Webcam Driver, the file patcher NoTimeStamp.exe, and the actual burning software ISP_1528.exe. This tutorial will show you how to download, install and use these programs. I would like to have bundled these programs into an easy, one click, setup program, but, because of possible copyright infringements etc., I don't want to risk it. This limitation makes the installation procedure fairly complex for beginners. I have attempted to make it as easy as possible by using a memory stick for the installation files and folders. Once installed, all operations are done from within the c:\isp folder.
For the examples below I have used a freshly formatted memory stick which has been assigned the drive letter F:. Replace all references to F: with the drive letter assigned to your memory stick. If you download the files to another folder or to the desktop, then I recommend that you copy the downloaded files to your F: memory stick. Using a root folder on an empty drive makes the explanations a bit easier, but of course you could use any drive or folder for the files downloaded.
► Take note that the ISP program does not like waiting. Between every operation (Read and/or Write) you should always quit the program and then restart the program. Always first do a version check immediately followed by a Read or a Write operation.
► If the ISP program hangs during operation (hopefully not while writing to the camera, or you may brick your camera), you will have to disconnect the camera from the USB and perform steps 13 -16. On the MD80 you may have to press the Reset button after you disconnect. Be careful when you use the ISP program - it loves to FREEZE, and the only way out is to disconnect the USB cable and start again at step 13. There is no other way to unfreeze the program. Believe me.
► If you use a different file location for the ISP program (not recommended), please take note that you should not user a folder containing long names or spaces. ISP_1528.exe especially does not like spaces!
Here are the instructions on how to remove the timestamp programmatically. Please follow these instructions EXACTLY.
Getting Ready
1. Insert your formatted (empty) memory stick which will be used for the installation files only.
2. Download the webcam driver to the memory stick F: drive
http://brazza.eu/SPCA1528_V2220_MultiLan_090217.rar
3. Download the ISP 1528 programming software to the memory stick F: drive.
Confusingly, this file is called "Driver.rar" - it is NOT the driver!
http://www.ziddu.com/download/11914470/Driver.rar.html
4. Download my timestamp remover program "notimestamp.exe" to the memory stick F: drive
5. Turn OFF the camera.
6. Make sure that the camera is disconnected from the PC
The Webcam Driver
7. Create a new folder called WebCamDriver on the F: drive (F:\WebCamDriver)
7a. Extract the webcam driver file SPCA1528_V2220_MultiLan_090217.rar to the newly created folder F:\WebCamDriver
The following four files should be extracted:
time reset.txt
SPCA1528_V2220_MultiLan_090217.exe
TAG.TXT
webcam.txt
We are only interested in SPCA1528_V2220_MultiLan_090217.exe
7b. Install the webcam driver
► Double click SPCA1528_V2220_MultiLan_090217.exe.
► Select "English" for the language and then press the "Next" button.
► On the Welcome Screen, Press the "Next" button.
► On the Ready to Install the Program dialog, Press the "Next" button.
► On the InstallShield Wizard Complete dialog, Press the "Finish" button.
The ISP Programming Software
8. Create a new folder called ISPTool on the F: drive (F:\ ISPTool)
8a. Extract the ISP Reader/Writer software to the newly created folder F:\ISPTool
A sub-folder called Driver will be created (don't be mislead by this name. It is not the driver!)
8b. Double click on the Driver sub-folder
You will now see the following 4 sub-folders, with Chinese names if you are lucky!
□□□□□
or ![]()
□□□□
or ![]()
□□□□□□
or ![]()
□□□□□
or ![]()
8c. Double click on the
shortest sub-folder name
□□□□ or ![]()
You
should see a file called isp□□□□.rar or ![]()
8d. Install the ISP 1528 software
►
Extract this file ( isp□□□□.rar or ![]() to your C: drive
to your C: drive
You will see a new folder in C: called isp. (C:\isp)
This will be our main folder for all our operations
8e. Double click on the isp (C:\isp) folder
Preparation
9. Create a new folder called download (C:\isp\download)
10. Using Notepad or another text editor, modify Isp.ini (C:\isp\isp.ini)
Modify the following three parameters as follows:
ParamFile =C:\isp\SYS_REG_DS64_D96C96_SPI_12Mhz.TXT
IspFile =C:\isp\ISP_SPI.BIN
FwFile =C:\isp\download\1528.bin
11. Extract the program "notimestamp.zip" on drive F: to C:\isp
12. Make sure that the SD card is inserted into the camera. Important
13. Connect the camera directly to the PC with the shortest possible USB cable. You must be sure that the cable works!. Don't use a USB hub.
14. Wait until the disk is found. This can take up to a minute. YOU MUST WAIT until you can access the disk in your file manager (My Computer, Computer, Explorer, etc.)
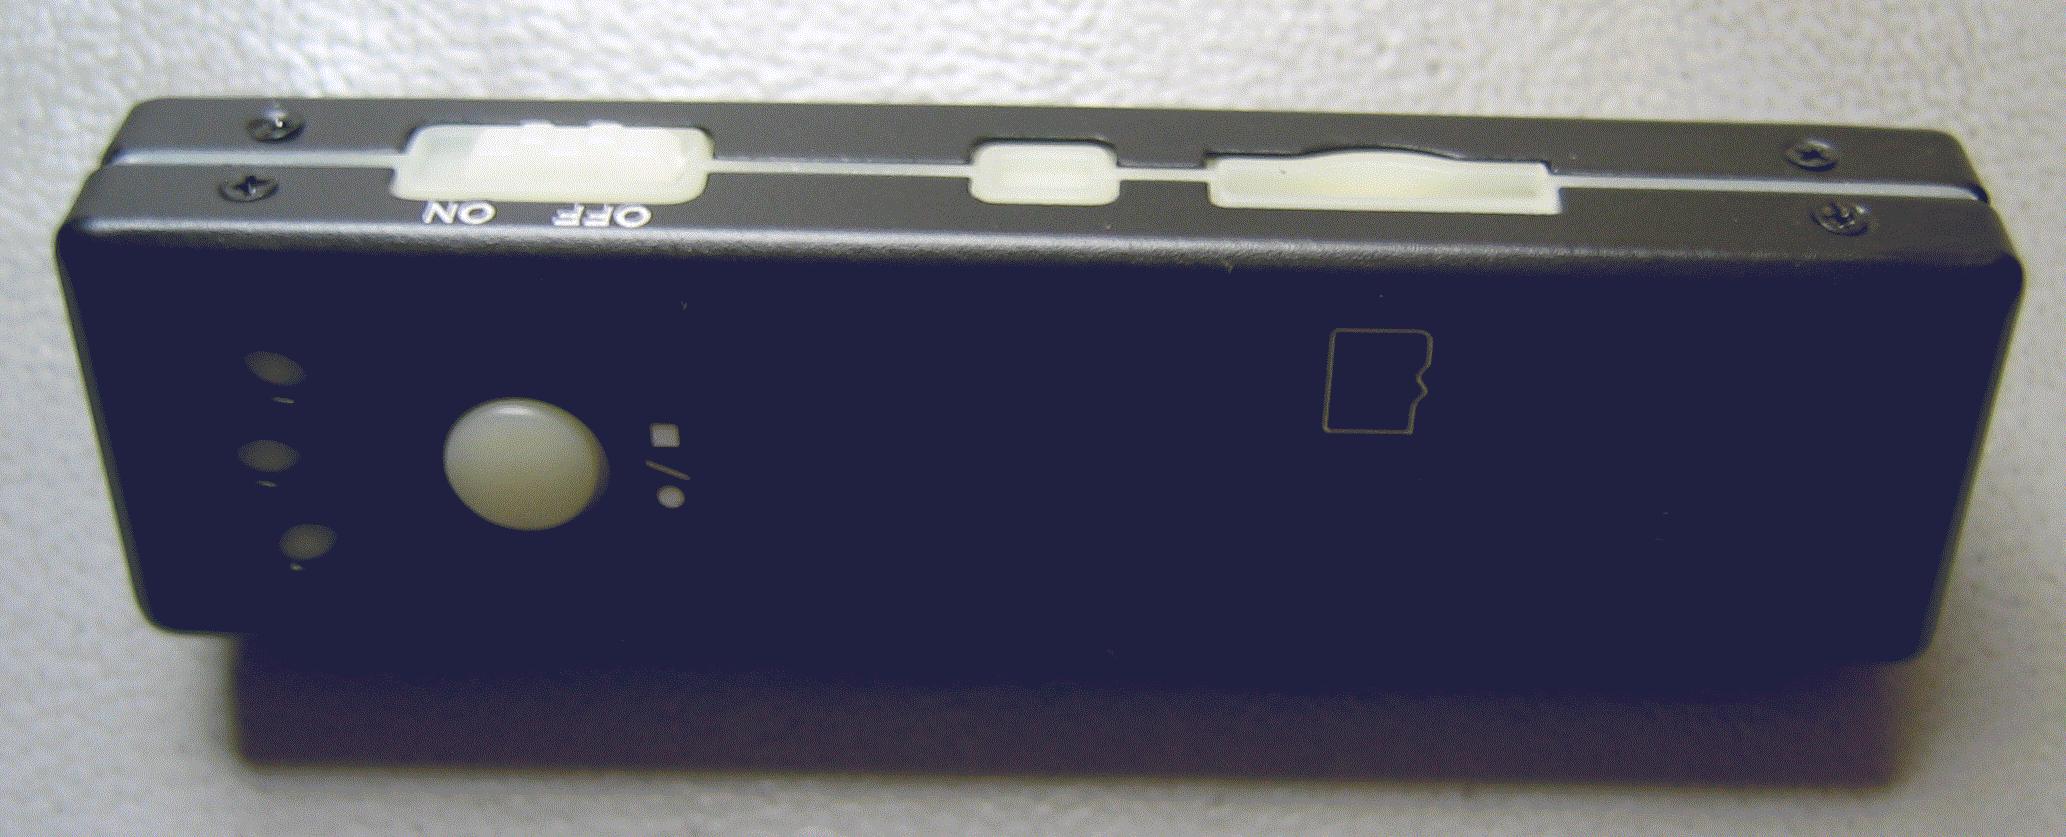
15. Enter Webcam mode:
► On the GumPack, Short-Press the Record button ONCE
► On the 808, Short-Press the Power button ONCE
► On the MD80, Short-Press the Mode button ONCE
16. The disk will be disconnected
Read
17. Launch ISP_1528.exe (double click ISP_1528.exe in C:\isp)
► Beware! If this is the first time that you launch ISP_1528.exe, the operating system will install various drivers. Let the system install the drivers it requires and give it PLENTY of time to complete. If you don't, the software will freeze. This may also happen during the 3 steps below.
► If the software freezes, disconnect the USB cable and go back to step 13. On the MD80 you may have to press the Reset button after you disconnect
18. Click «Ver. Check» and the Version will be shown
Three lines with version numbers (68, 0, 0, 1) will be shown
● If an error is shown then the Webcam driver is most probably not installed correctly
19. Press «Read [F6]»
● If you receive an "Open file error..." quit the program and check the values in Isp.ini (see step 10)
After a short while the Browse for Folder dialog will be shown. The program first reads and analyzes ISP_SPI.BIN, which takes a few seconds
20. Select the folder C:\isp\download and press the «OK» button
This normally takes between 5-30 seconds
The program will create various files and folders in the C:\isp\download folder
21. Quit ISP_1528.exe (Important - the program does not like to wait!)
Patching
22. Run the program "notimestamp.exe" (double click notimestamp.exe in C:\isp)
► For the Source File Name select C:\isp\download\1528.bin.brn (NOT 1528.bin.raw - NEVER EVER TOUCH 1528.bin.raw)
► For the Destination File Name select C:\isp\download\1528.bin
► If you check «Patch Multiple Fonts», the time stamp will also be removed from the photos (background will be black - a patch for a transparent background is not yet known)
► Click the «Patch!» button
22a. A new 1528.bin file will be created in the download folder (C:\isp\download\1528.bin)
22b. Make sure there are no errors in the list control
22c. Quit NoTimeStamp
Writing the firmware is DANGEROUS and can brick your camera. Continue at your own risk!
Writing the patched file back to the camera (BEWARE - This can brick your camera)
23. I strongly recommend that you disconnect the camera, wait a few seconds, and then re-connect it as described in steps 13 - 16. Please do this!
► On the MD80 you will have to press the Reset button after you disconnect, otherwise the camera will hang
24. Launch ISP_1528.exe (double click ISP_1528.exe in C:\isp)
25. Click «Ver. Check» and the Version will be shown
Three lines with version numbers (68, 0, 0, 1) will be shown
● If an error is shown, disconnect the camera, and quit the program. Perform steps 13 - 16 and go back to step 24 (see MD80 comments in step 23)
26. Make sure that the «Read Verify» checkbox is checked
27. Press «ISP [F5]» and ensure that the parameters are correctly set - they should be (don't wait too long)
Parameter File: C:\isp\SYS_REG_DS64_D96C96_SPI_12Mhz.TXT
ISP Core File: C:\isp\ISP_SPI.BIN
ISP Firmware File: C:\isp\download\1528.bin
28. Click the «OK» button
29. Hope and Pray! Under normal circumstances the write procedure should take around 20-60 seconds to complete
● If things go wrong, give the program plenty of time to finish, maybe up to 15 minutes?
30. This is what should be shown after the program has successfully written the firmware back to the camera
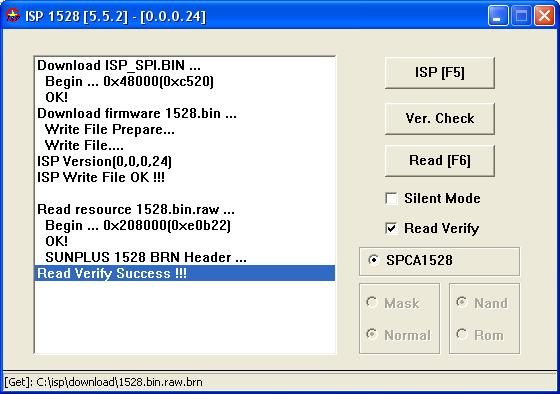
31. Assuming everything went OK, Quit ISP_1528.exe
32. Disconnect the camera and test if the timestamp has been removed
33. I suggest that you store the original 1528.bin.brn in a safe place in case you ever want or need to restore it
34. Have I missed something? Please send any comments or amendments to the address found at the end of the page. Thank you.
Credits
All credit goes to the gurus who really found out how to get rid of the timestamp and program the chip. What they have discovered is amazing. I have learnt a lot from them and have used their ideas and methods to make this tutorial. I hope others will also appreciate their work.
To name a few:
Philippe, Chuck, Bill W., Spinner, David Sykes, user8012, Roger M and others
Useful sites
This project is based on information taken from these excellent sites.
http://www.pluc.fr/2010/02/tear-down-and-hacking-around-gumpack-camera/
http://www.chucklohr.com/808/ and http://www.chucklohr.com/808/C3/#C3VideoStampRemoved
I have written another article for the GumPack here, if you wish to record while the GumPack is connected to an external USB battery pack. Sorry, I don't know how to do this with the MD80 or 808 (I don't have these models).
If you have bricked your 808 then you may be able to un-brick it by using the method described here (see 2010 Nov. 11).
If you have a totally bricked camera and good soldering skills and want to pay $20 or more to revive your camera, you can take a look at my previous hardware guide to patching the GumPack. The procedure for MD80 and 808 models is similar. You will need an original firmware file as well. There are a few available on my hardware page mentioned above. These files are NOT THE SAME as the files extracted using ISP_1528.exe.
Thank you for reading.
Isoprop
Last updated: 24th January 2012